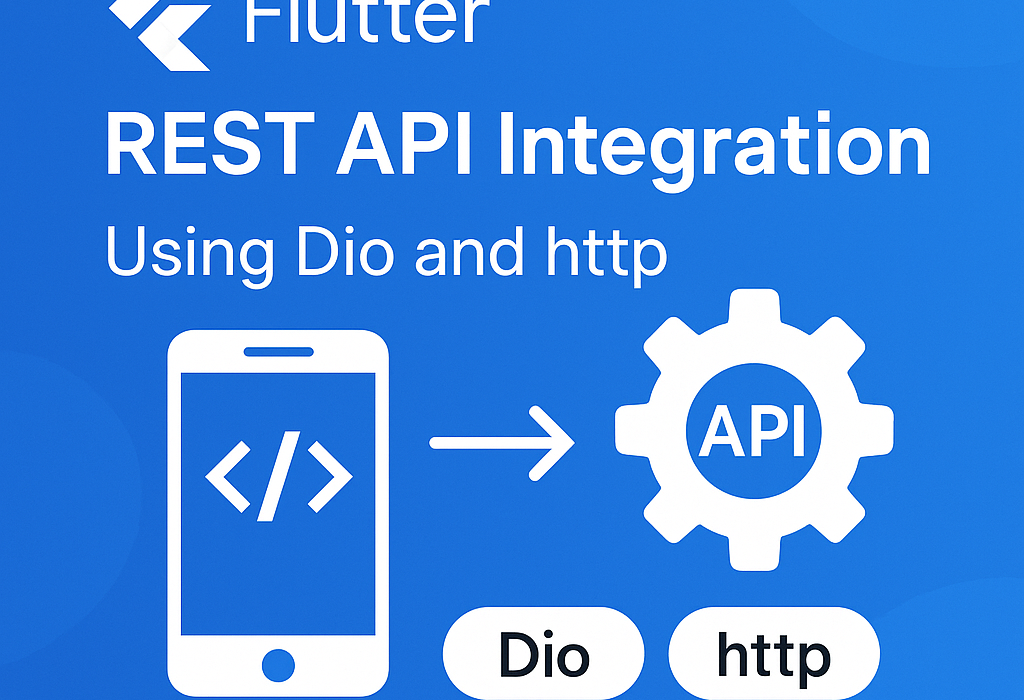
Integrating REST APIs with Flutter using Dio or http
In modern mobile app development, connecting your app to remote services is essential. Flutter REST API integration allows your application to fetch data, send updates, and communicate with external servers or cloud databases in real time. Whether you’re building a weather app, e-commerce store, or social platform, APIs play a critical role in enabling dynamic functionality.
Flutter provides excellent support for HTTP-based communication. In this blog post, we’ll explore how to implement Flutter REST API integration using two of the most widely-used packages:
http– a simple, lightweight library ideal for basic API calls and smaller projects.dio– a feature-rich HTTP client that offers interceptors, global configuration, file uploading, error handling, and more.
We’ll cover how to make GET and POST requests, parse JSON responses into Dart model classes, and handle errors gracefully. If you’re new to working with APIs in Flutter, this guide will help you set up your networking layer correctly. If you’re already using http and considering switching to dio, this comparison will help you make the right choice for your project.
By the end of this article, you’ll have a solid understanding of how Flutter REST API integration works, and how to write clean, maintainable code that communicates reliably with remote services.
Why REST API Integration Is Essential in Flutter Apps
Flutter apps often need to interact with backend services to fetch or send data. Whether you’re building a to-do app, e-commerce platform, or chat app, REST APIs are the bridge between your Flutter frontend and server-side logic. Understanding how to integrate APIs ensures your app is dynamic and connected to real-time data.
Choosing Between Dio and http
| Feature | http | dio |
|---|---|---|
| Simplicity | ✅ Very simple | ❌ Slightly more setup |
| Interceptors | ❌ Not available | ✅ Built-in support |
| Timeout | ❌ Manual | ✅ Easy configuration |
| File Uploads | ⚠️ Limited | ✅ Robust support |
| Retry Logic | ❌ Manual | ✅ Via interceptors |
Setup
Add dependencies to pubspec.yaml:
yaml
dependencies:
  flutter:
    sdk: flutter
  http: ^0.13.6
  dio: ^5.4.0
Then run:
bash
flutter pub getUsing http Package – Simple GET Example
Import the package:
dart
import 'package:http/http.dart' as http;
import 'dart:convert';
Make a GET Request:
dart
Future<void> fetchUserData() async {
  final response = await http.get(Uri.parse('https://jsonplaceholder.typicode.com/users'));

  if (response.statusCode == 200) {
    final List data = jsonDecode(response.body);
    print(data);
  } else {
    throw Exception('Failed to load users');
  }
}
Using dio Package – GET with Interceptors
Import dio:
dart
import 'package:dio/dio.dart';
Create Dio instance with interceptor:
dart
final dio = Dio(
  BaseOptions(
    baseUrl: 'https://jsonplaceholder.typicode.com',
    connectTimeout: Duration(seconds: 5),
    receiveTimeout: Duration(seconds: 5),
  ),
)..interceptors.add(LogInterceptor(responseBody: true));
GET Request with Dio:
dart
Future<void> getUsers() async {
  try {
    final response = await dio.get('/users');
    print(response.data);
  } catch (e) {
    print('Error: $e');
  }
}
Parsing Response into Model Class
Let’s say you have a User model:
dart
class User {
  final int id;
  final String name;

  User({required this.id, required this.name});

  factory User.fromJson(Map<String, dynamic> json) {
    return User(
      id: json['id'],
      name: json['name'],
    );
  }
}
Now modify your fetching method:
dart
Future<List<User>> fetchUsers() async {
  final response = await dio.get('/users');
  return (response.data as List).map((json) => User.fromJson(json)).toList();
}
POST Request Example with Dio
dart
Future<void> createUser(String name) async {
  final response = await dio.post(
    '/users',
    data: {'name': name},
  );
  print('User created: ${response.data}');
}
Bonus: Add Retry Interceptor with Dio
dart
dio.interceptors.add(InterceptorsWrapper(
  onError: (e, handler) {
    if (e.type == DioExceptionType.connectionTimeout) {
      // Retry logic
    }
    return handler.next(e);
  },
));
✅ Conclusion
Use
httpfor basic needs and lightweight projects.Choose
diofor production-grade apps where features like interceptors, logging, and error handling are important.Regardless of the package, structure your API integration using clean architecture or repository patterns for better scalability.